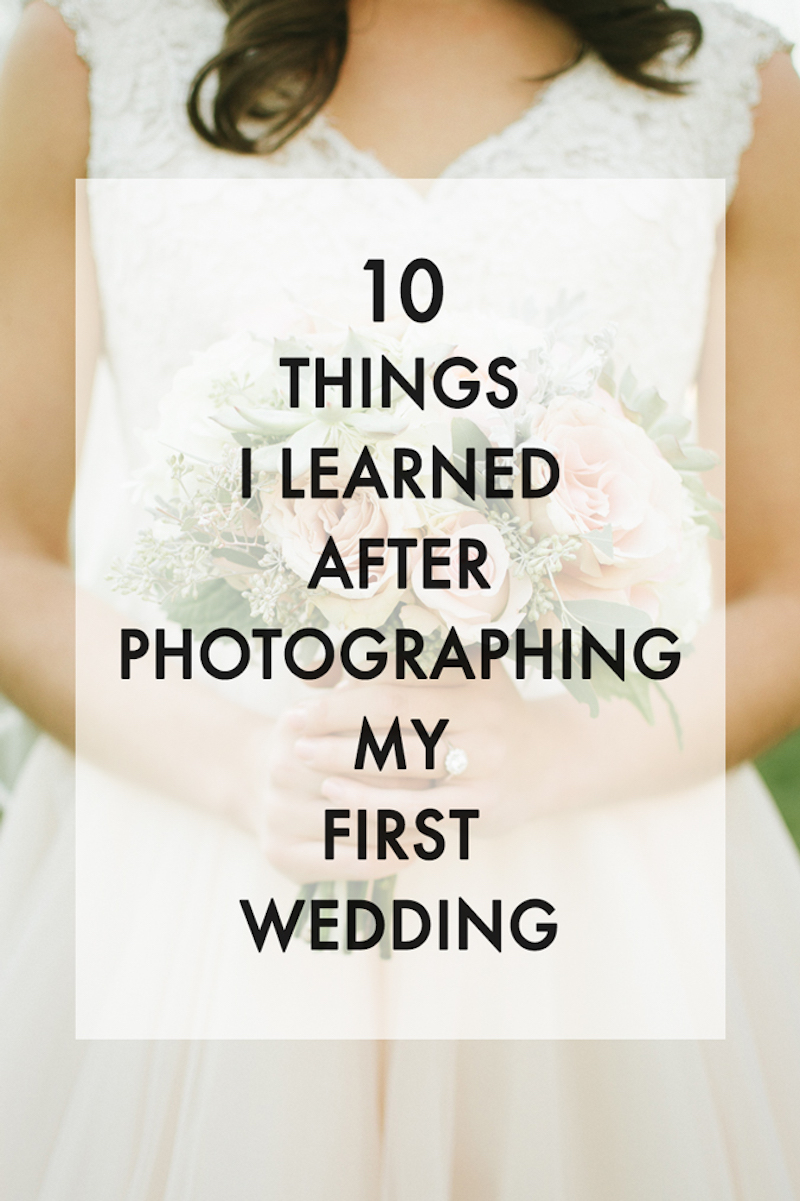
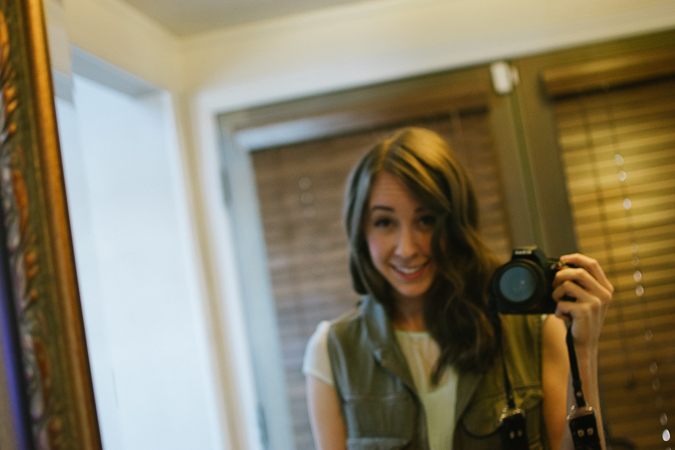
It happened—I photographed a wedding! Officially. For the first time. I wore a legit photography vest and everything. It was for one of my best friends Cassie and her husband Brady (or as I have so frequently referred to them here on the blog, “Brassie.”) You can peruse shots from their engagement sesh here, and shots from the actual wedding day here, here, and here if you like. Anyhow, today I wanted to share with you ten of the most crucial things I learned from shooting my first wedding. Trust me; you need this list if you’re shooting your first wedding (or any big event) soon.

1. Have a complete, yet portable camera gear arsenal.
It’s important to plan out the camera gear you bring along with you in such a way that you have everything you could possibly need, yet you are able to manage the gear that you have on you very quickly. Fortunately, I planned this part out pretty well. Here is what I recommend that you carry with you throughout the day:
- Photography vest (This is so you can carry your gear on you and look legit.)
- Your camera body
- Wide range zoom lens (Mine was this 18–140mm lens
.)
- Prime lens with a wide aperture (Mine was this 35mm lens
.)
- On-camera flash (Mine was this Nikon speedlight
.)
- Light diffuser (I suppose this is optional, but I kept it on my flash during the reception, and it made the lighting absolutely beautiful.)
- Spare, charged camera battery (and the charger just in case)
- Spare batteries for the flash
- Multiple 16GB memory cards
- Tripod (Confession: I didn’t use one, but I think it would have been helpful during the friends and family shoot. But if you are going to bring one, you need an assistant to carry it for you.)
2. Use an on-camera flash.
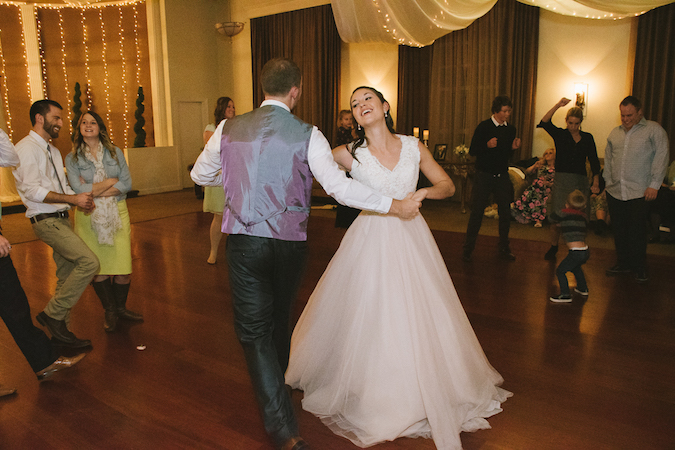
In case you hadn’t figured it out by now, lighting in the world of photography is everything. And while the venue will likely have some lighting gear like this installed to light the place, you’re going to need more light to capture sharp photos. I avoid the built-in flash on my camera at all costs, and I think you should too. An on-camera flash will prove essential as you photograph the reception, and it really gives the photos from the reception that party-like feel. Plus, chances are the reception is at night, so you really don’t have any other option. (Tip: Point the flash straight upwards, and set a diffuser on it.)
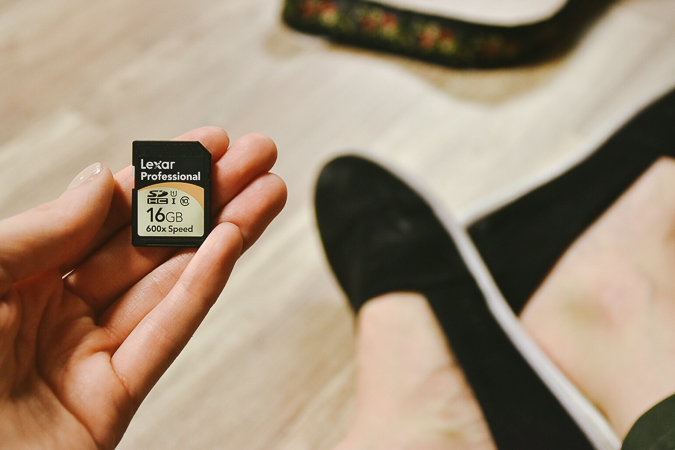
3. Bring three 16GB memory cards.
I know—this tip is so specific. But I think it’s a good one! You should plan on needing about 32GB of memory to capture the entire day, or maybe more if you’re an impulsive photo-taker. (This is assuming that you’re shooting in RAW, which you are, right?) I used one 16GB memory card for my shooting since it was the only reliable one I had, and I ended up having to delete some photos towards the end of the reception to make some room on the card. The reason I think it’s so important to have multiple memory cards is that one of them could all of a sudden go “corrupt” or “unreadable” on you. (Mine did for a second, by the way—ah!) What are you going to do then if you’re relying on just one giant memory card? Plus, when you run out of memory on one card, you can instantly switch to another. I think 16GB is a good memory card size that gives you both large memory capacity and a comfortable price point for having multiple cards.
4. Keep burst mode on—and use sparingly.
Really, I think it’s good to have burst mode on any time you’re shooting an event. Special moments are going to happen, and burst mode might just be the thing that helps you capture them. It also happens to come in handy when taking posed group shots, when various people might be blinking in some shots. Do note, however, that you shouldn’t become totally reliant on burst mode. That will only cause you to miss crucial details in your photo composition, and it will be a pain to go through and delete all of the excess photos later.
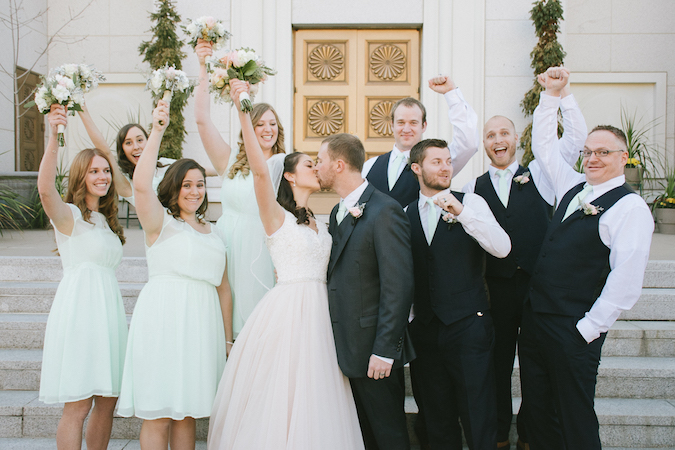
5. Create a list of shots for posed ‘family and friends’ photos.
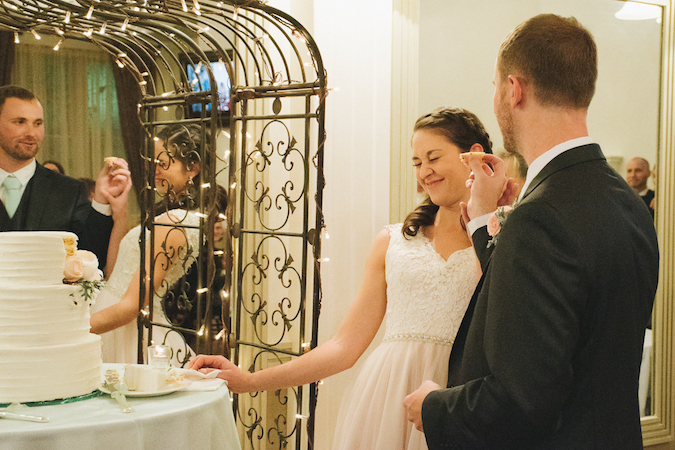
Even with collaborating on a Pinterest board with Cassie starting weeks before the big day, somehow I still didn’t manage to see a list of all of the ‘family and friends’ shots she wanted until the day of the wedding, ha. As a result I was a little flustered when it came time to take photos of the family and close friends of the bride and groom! And really I think those shots are the most high pressure, because they involve a ton of people posing, a ton of directing, and a ton of being sure you’re getting all of the shots that the families want. So I think it’s really important to have your photo list here planned out beforehand. Here are the shots that I think you need to for sure take in terms of the couple’s family and friends.
Here are the posted friends and family shots I took. Obviously, tailor this to your couple and insert the couple’s names where I have “bride” and “groom.” (Same goes for “groomsmen” and “bridesmaids.”)
- Entire group of family and close friends with bride and groom, smiling
- Entire group of family and close friends with bride and groom, cheering
- Groomsmen and bridesmaids with bride and groom, smiling
- Groomsmen and bridesmaids with bride and groom, cheering
- Groomsmen with groom, smiling
- Groomsmen with groom, cheering
- Bridesmaids with bride, smiling
- Bridesmaids with bride, cheering
- Bride and groom with groom’s parents
- Bride and groom with groom’s family
- Bride and groom with bride’s parents
- Bride and groom with bride’s family
- Groom with any siblings
- Bride with any siblings
- Any shots with individuals the bride and groom may want (e.g. the bride with each bridesmaid)
6. Get inspiration from Pinterest.
Okay, okay, so I’m all about originality. But I don’t think you should be above creating a Pinterest board with the types of shots you want to get, either. Pin certain bride-and-groom poses that you like, details you want to capture, can’t-miss moments, etc. Even if you attempt to copy a favorite photo precisely, chances are it’ll come out unique, anyway.
7. Don’t be afraid to shoot in auto.
I tend to favor manual mode because it gives me precisely the exposure and aperture I want in a photo, but if you’re in a crunch, don’t be above flipping into your camera’s auto mode and shooting with it. Chances are the exposure will still be pretty decent, and you won’t miss a key moment!
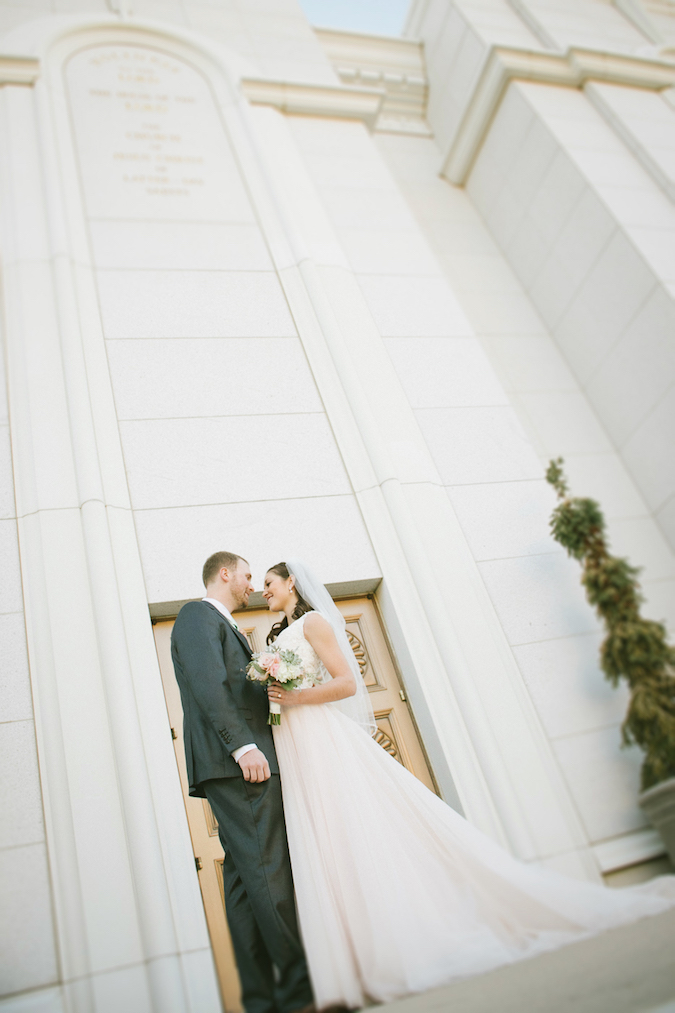
8. A wide-range zoom lens is your best friend.
Usually I favor my 35mm lens for photography, but this is one day where you’ll be using your zoom lens the majority of the time. It’s the only way to capture all of the action of the day, and the range of focal lengths will prove highly convenient. I used my 18–140mm lens for about 95% of the photography, switching to my 35mm prime lens only for detail shots where I wanted a wide aperture (e.g., the ring shot).
9. Keep your gear safe.
Unfortunately people with sticky fingers do show up at weddings, so you should make a plan for protecting your gear. I did this with a combination of wearing a photography vest (and hence the majority of my gear) and using the venue’s office as a secure storage space for my camera bag. Also…don’t set any of your photo gear next to an open flame, duh (a story you can read about here).
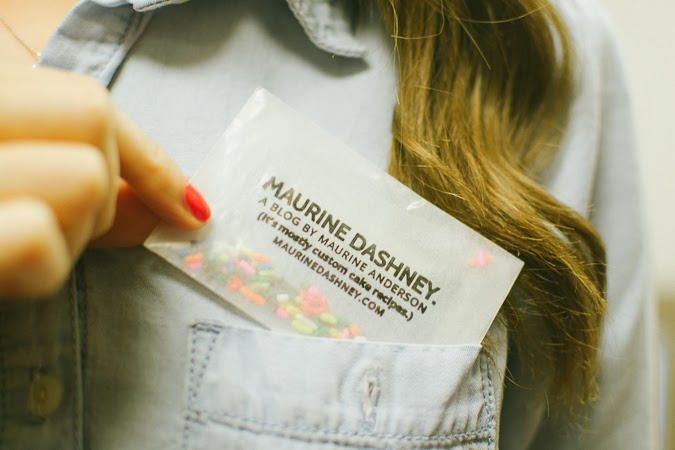
10. Bring business cards.
If you’re doing a good job shooting the wedding, people are going to ask about you. Keep plenty of business cards in your vest pocket to let people know who you are!
Thanks for stopping by, and if you happen to be shooting your very first wedding soon, best of luck and godspeed. If you’re interested in learning more things photography, you might be interested in reading this post I recently wrote about creating a compelling image.
No Comments
This is really an amazing place for a wedding. We considered these wedding venues for our wedding and reception. Beautiful architecture in a ginormous building with original woodwork, and high ceilings make for an extremely interesting, dramatic, and formal space.